The secret to perfect plum jam lies in patience and the right selection of fruit. Although the recipe seems simple, it is worth knowing a few key rules, thanks to which your preserves will gain a perfect consistency and deep aroma. Check out our step-by-step guide and prepare the best plum jam this autumn.
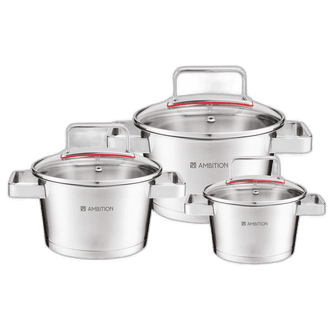
If you are currently wondering how to make the perfect plum jam, you must know that to obtain a thick jam, the key to success is choosing the right type of plums and equipping your kitchen with a good plum jam pot. Ripe fruits that are usually already sweet and soft work best, which will facilitate the process of pitting them - we especially recommend choosing varieties with a fleshy interior, e.g., Damson plums. The next step will be thorough washing, drying, and removing the pits from the plums. Preparing plum jam is best started by pouring a small amount of water into the pot and placing the previously prepared fruit in it. Cooking should begin by setting a low heat and stirring the fruit regularly so that it does not burn. During cooking, the plums should start to fall apart and their skins should soften. Depending on the amount of fruit placed in the pot and the consistency of the preserve we want to achieve, the cooking process itself usually lasts from 1 to a maximum of 3 hours. During cooking, depending on our taste preferences, we can add sugar or spices to the jam, such as cinnamon, cloves, or cardamom, which will enhance the flavor and aroma of the plums. Some people also decide to add a bit of spirit, which can help in preserving the jam. In the final stage of preparing plum jam, we can transfer it to previously prepared and scalded jars, then screw them on properly and subject them to the pasteurization process. By choosing this preparation path, our homemade plum jam can be stored for a long time, and its taste and aroma will be fully preserved, and we will be able to enjoy a tasty addition to pancakes, cakes, or desserts all year round!
In preparing tasty and aromatic plum jam, choosing the right ingredients is important. Selecting the right type of not only plums but also additives such as sugar or spices is of key importance here.
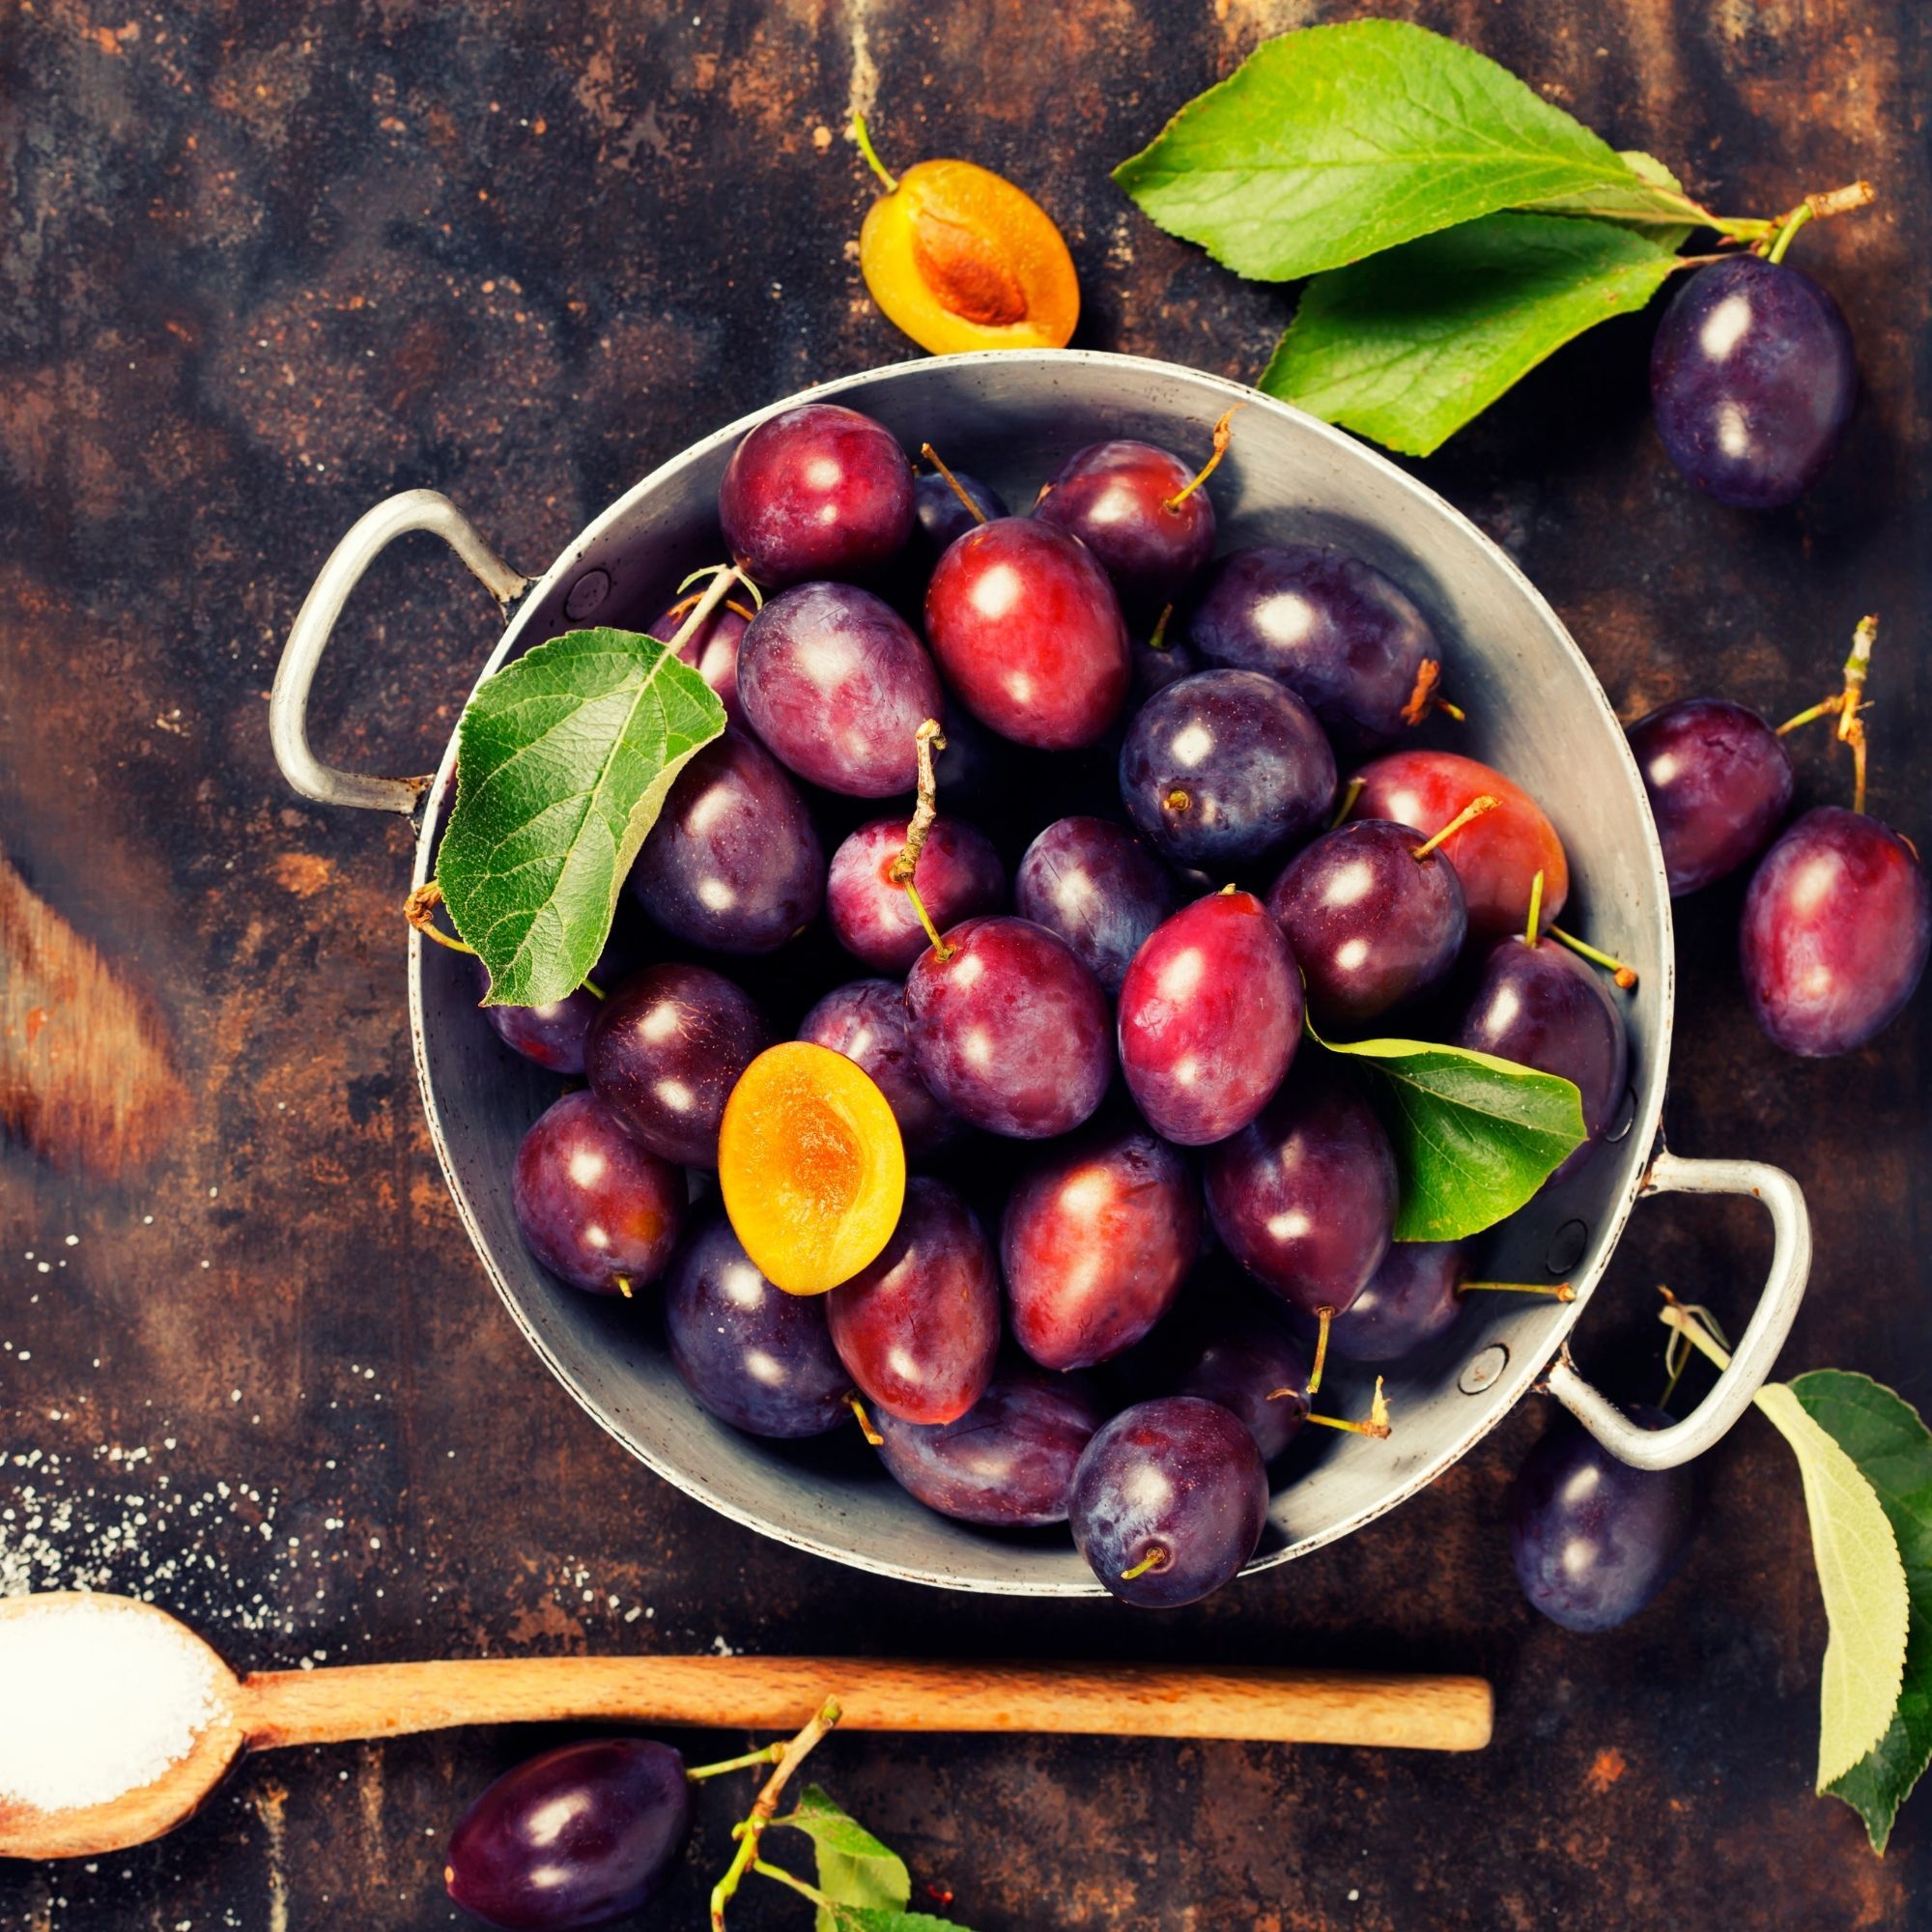
To make plum jam, ripe Damson plums work best, as they are characterized by fleshy pulp. It is good to ensure that the fruits are ripe, as this has a great impact on the taste and consistency of the jam. Ripe plums are both sweet and slightly tart, which allows for a perfect balance of flavor. Remember that before you start cooking the jam, you should thoroughly wash the plums, dry them, and remove the pits - we recommend choosing a large colander, which will definitely make our work easier at this stage.
During the preparation of plum jam, the amount of sugar added is very important, affecting not only the taste but, as not everyone may know, also its consistency. However, we must be careful, because too much sugar can thicken the consistency of the jam too much - therefore it is worth adding it gradually, constantly tasting the flavor and controlling the thickness. It is recommended to add from 100 to 150 g of sugar per 1 kg of plums. However, if we have very sweet plums, we can add a small amount of sugar or even completely resign from adding it. Some people decide to experiment with different types of sugar, such as brown or cane sugar, which can give the jam a slightly different taste and aroma. When adding sugar, it is worth not doing it "by eye" and using a measuring cup or scale.
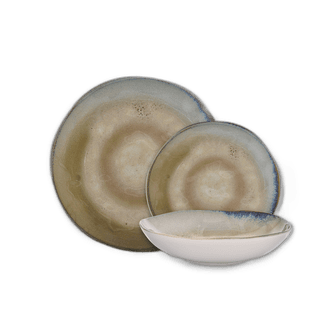
Some people love the taste of plum jam without unnecessary spices, but there are also supporters of using flavor additives, such as cinnamon, cloves, or cardamom, which enhance the flavor and aroma of the plums. The combination of plums with cinnamon is particularly popular, giving the jam a characteristic, spicy aroma. Depending on individual preferences, you can experiment with various spices and additives, such as vanilla, anise, or orange zest. It is important, however, not to overdo the amount of spices, as they can dominate the taste of the plums. By following the above tips for choosing the right ingredients for plum jam, you can obtain tasty and aromatic preserves that will be an excellent addition to many dishes and desserts. A good idea to avoid getting confused in the choice of added spices is their prior proper segregation and storage in special spice racks.
Check out our classic plum jam recipe, which you can of course enrich by adding your favorite spices to prepare more aromatic preserves. Below we discuss the individual stages of preparation:
Preparing plum jam in a jam pot is simple and does not require much culinary experience. Here is a detailed step-by-step guide:
1. Preparing the plums: Choose ripe, soft plums. Wash them thoroughly and remove the pits. You can also cut them into smaller pieces for faster cooking.
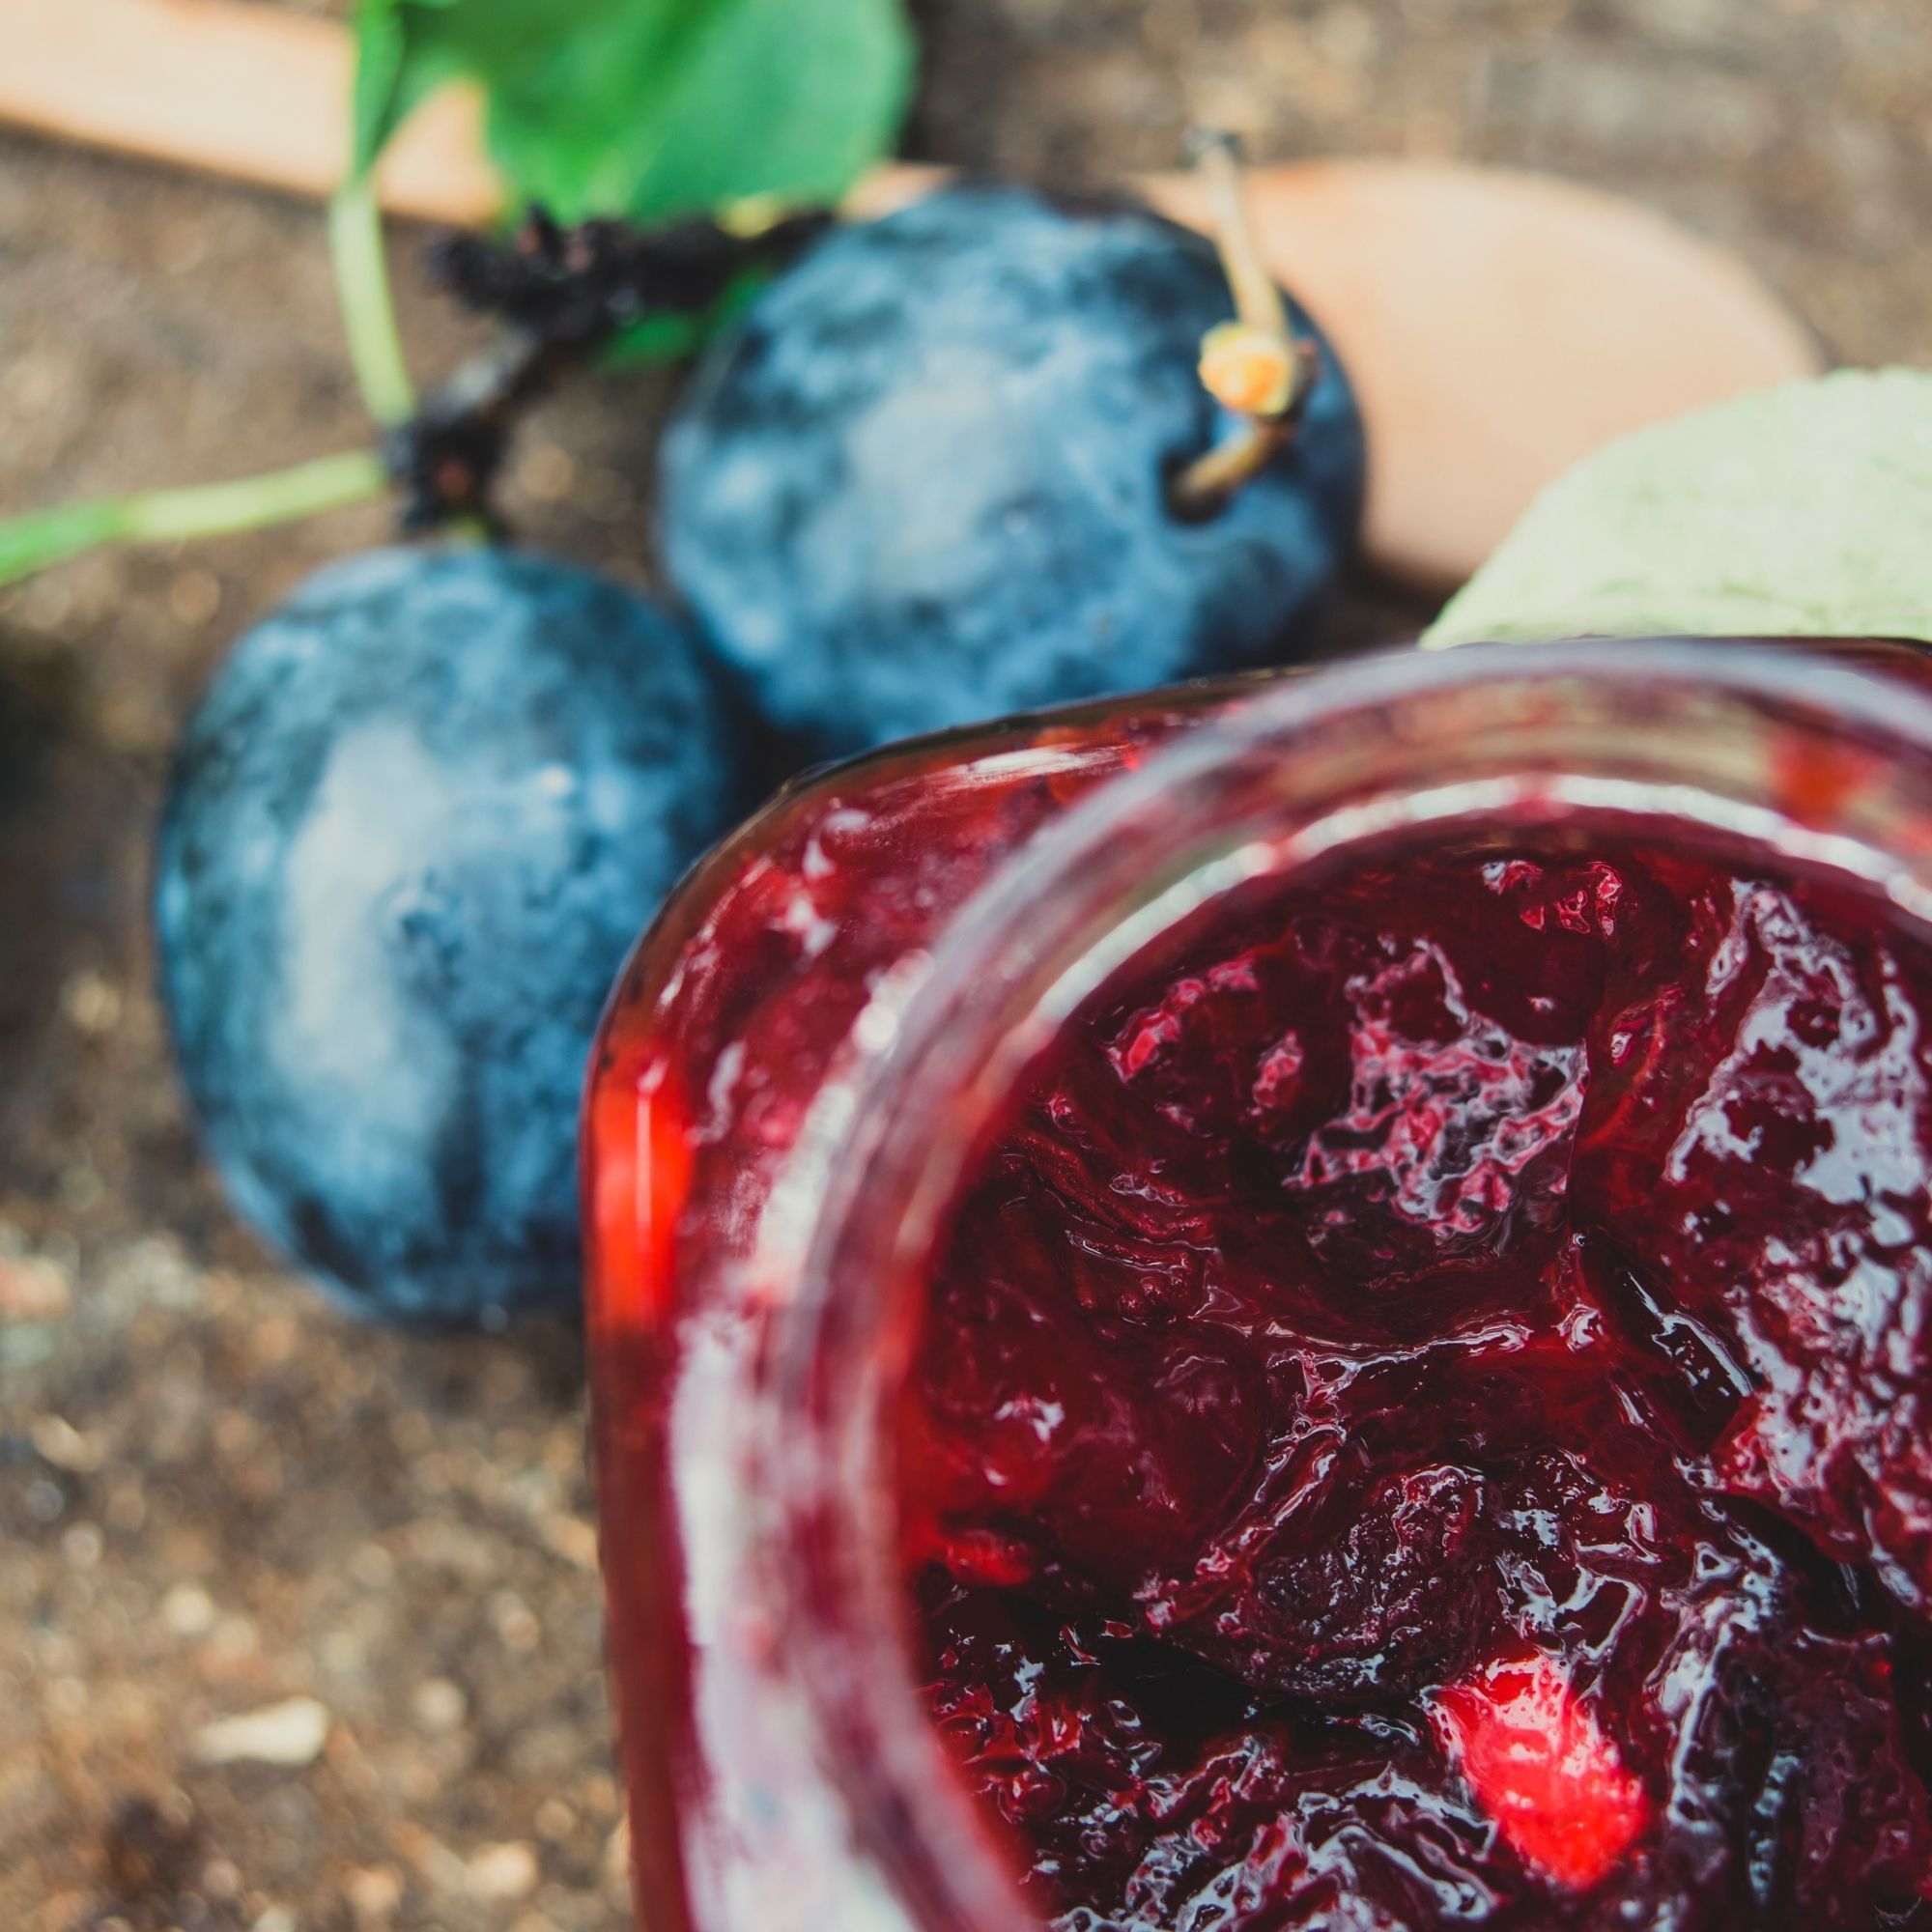
2. Cooking the plums: Place the plums in an enameled jam pot made of steel with a thick bottom. Start cooking over low heat so that the plums slowly begin to release their juice. Stir regularly to prevent burning. As they cook, the plums will thicken. Continue cooking until the mass becomes thick and has the consistency of jam. This may take several hours, depending on the quantity of plums and their water content.
3. Adding sugar: Once the plums start to break down, you can gradually add sugar, of course tasting the preserves all the time. If the plums are very sweet, you can skip adding sugar or minimize its amount.
4. Adding spices: You can add aromatic spices such as cinnamon, cloves, or cardamom. Some people choose to experiment with various additions such as vanilla, star anise, or orange peel, but remember not to overdo the quantity.
5. Storing the jam: You can pour the hot jam into previously scalded jars, screw them tight, and turn them upside down, leaving them to cool. Some consider this process final, while others decide on additional pasteurization of the jars to be sure they will be good for consumption for a long time.
6. Pasteurization:
To obtain thick and aromatic jam, it is worth applying a few tips regarding cooking jam:
By following the tips above, you will prepare traditional plum butter that tastes just like grandma's. This way, you will be able to enjoy aromatic plum butter for the winter and share it with family and friends. Enjoy!!!